Want to create an amazing new client onboarding experience? I recommend upgrading your usual new client welcome letter to a new client welcome packet. What’s the difference? With a new customer welcome packet, you can combine several items that you might normally send separately into one beautiful package thats easy for clients to skim (aka doesn’t make their eyes glaze over with a huge amount of text.)
It allows you to add more graphic elements that break up the text visually and create a stunning reflection of your brand right off the bat! The best part is, Dubsado makes it super easy to create eye-catching designs or you can head over to Canva to customize one of their new client welcome packet templates.

Why is a New Client Welcome Letter or Welcome Packet Important?
First of all, it allows you to send something to a client right away after they sign the contract and pay the invoice welcoming them to your business. I highly recommend automating this using a CRM like Dubsado to reinforce to your client that you were the right choice. There’s nothing worse than buying a service and hearing crickets. You immediately wonder if you’ve been had.
It’s an important part of new client onboarding because it allows you to establish boundaries and let clients know what to expect from you. It sets the tone for your work together. You can also use it to provide more information to help your clients as they move into the first phase of working with you.
Here are Some Things to Include in Your New Client Welcome Packet
- A short welcome paragraph telling them how excited you are to work with them. Tip: Use a smart field to add their name.
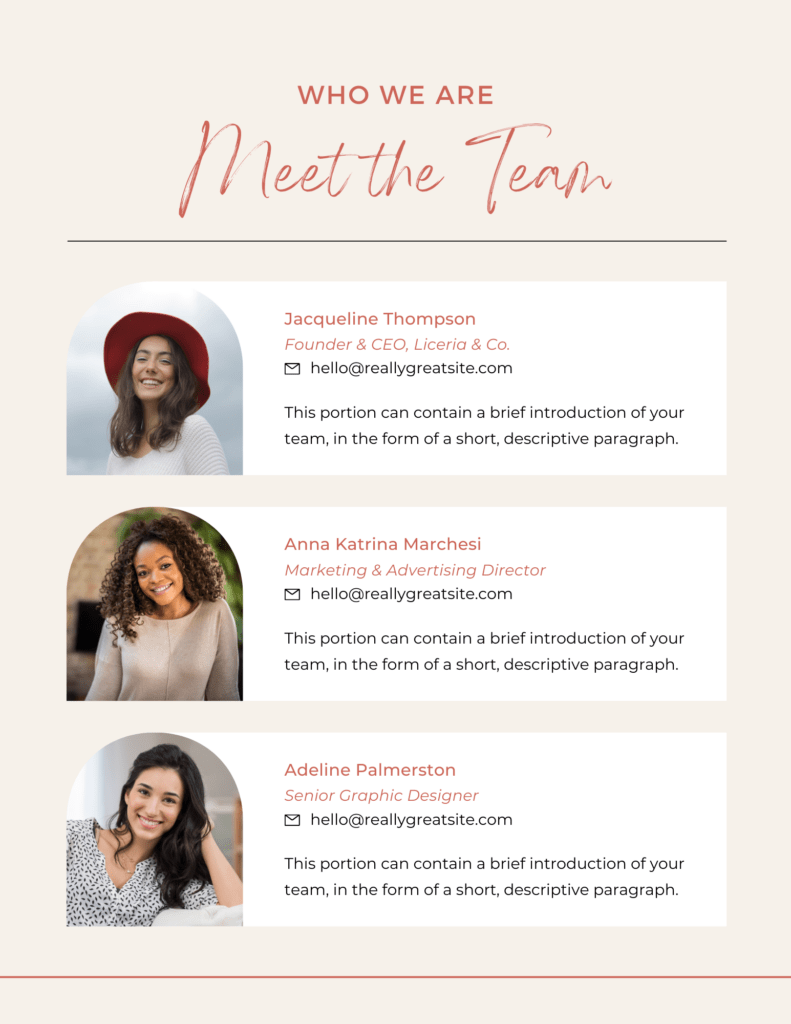
- A photo of you so they know who they’re working with.
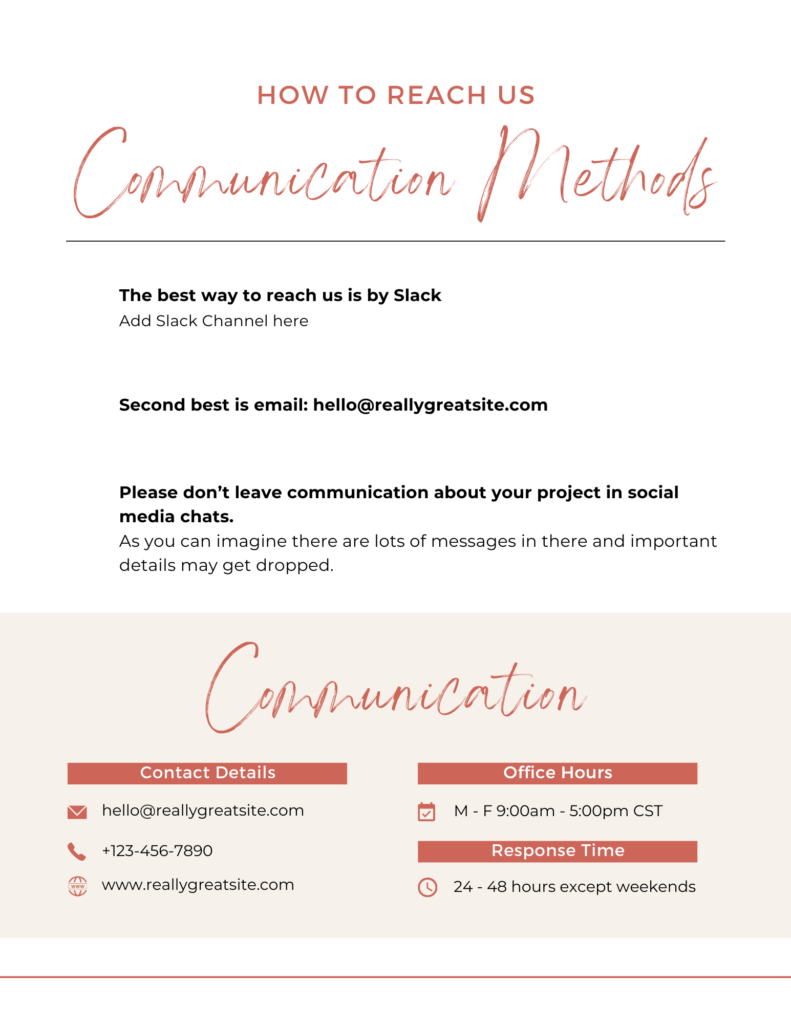
- Your office hours and when they can expect responses from you.
- How to communicate with you (ask questions or send you information that you might need.) Stop getting messages by text, email, Facebook, Instagram, etc. Establish one channel for communication.
- A checklist of items that you need from your client to get started.
- Questionaire with fillable fields that collects everything you need from a client to get started with them.
- Where to access their client portal.
- Other important links they may need.
- Testimonials from past clients.
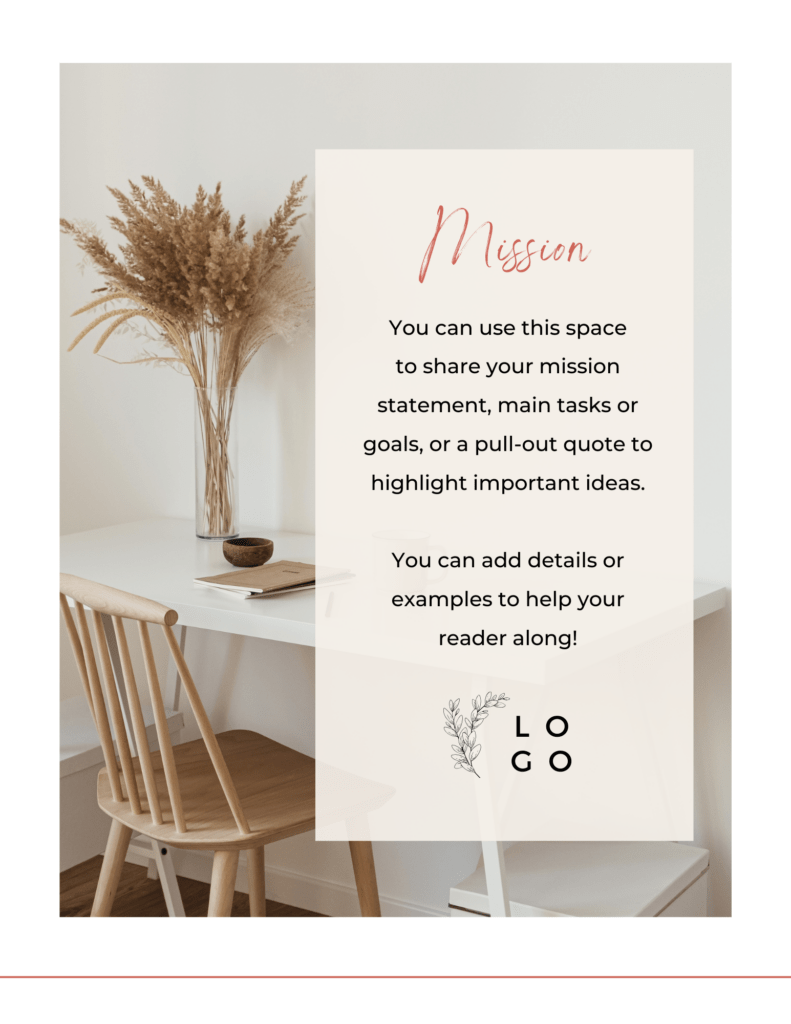
One Option for Creating Completely Customized New Client Welcome Packets
You could use a program like Canva to create a beautiful welcome packet. It’s a great way to create a completely customized welcome packet. They have beautiful templates that you can use as a starting point (or as inspiration for your Dubsado forms.) You can easily share a link to the form that can be added to a canned email. This is great if you frequently update your welcome packet information because it will always be up to date.
Drawbacks to Canva Forms
Canva forms are a great option. However, it wouldn’t allow you to include fillable forms or checklists like Dubsado can. This would mean that you’d have to send a separate questionnaire as a part of your new client onboarding process. When onboarding clients, it’s important to make the process as simple and painless as possible. You want new clients to see how easy it is to work with you.
(It also wouldn’t allow you to customize the information on the form to directly address your client as I show in the image above (unless you manually enter it.) You are probably on my site because you want to create a new client onboarding experience that WOWs without creating extra work for yourself.
Love what you’re reading? Sign up for my newsletter so you don’t miss a post.
Dubsado Makes it Easy to Build and Send a Gorgeous Welcome Packet as a Part of Your New Client Onboarding
The new drag-and-drop form builder uses containers to create up to four columns in a section. (You can even create more by layering containers). With the graphic block you can add images or elements that you design in Canva. (In fact, the welcome packet that I created for my business below is inspired by a Canva welcome packet template.)
There are other Dubsado form elements that you can use to design your form such as.
- Text blocks – These are elements that you can use to add headings or paragraphs of text, just like a Word or Google Document.
- Images – You can use these blocks to add graphic elements such as photos, graphs, designs that you created in Canva, videos, etc.
- Dividers – These create a visual divide between sections.
- Spacers – These add white space between elements.
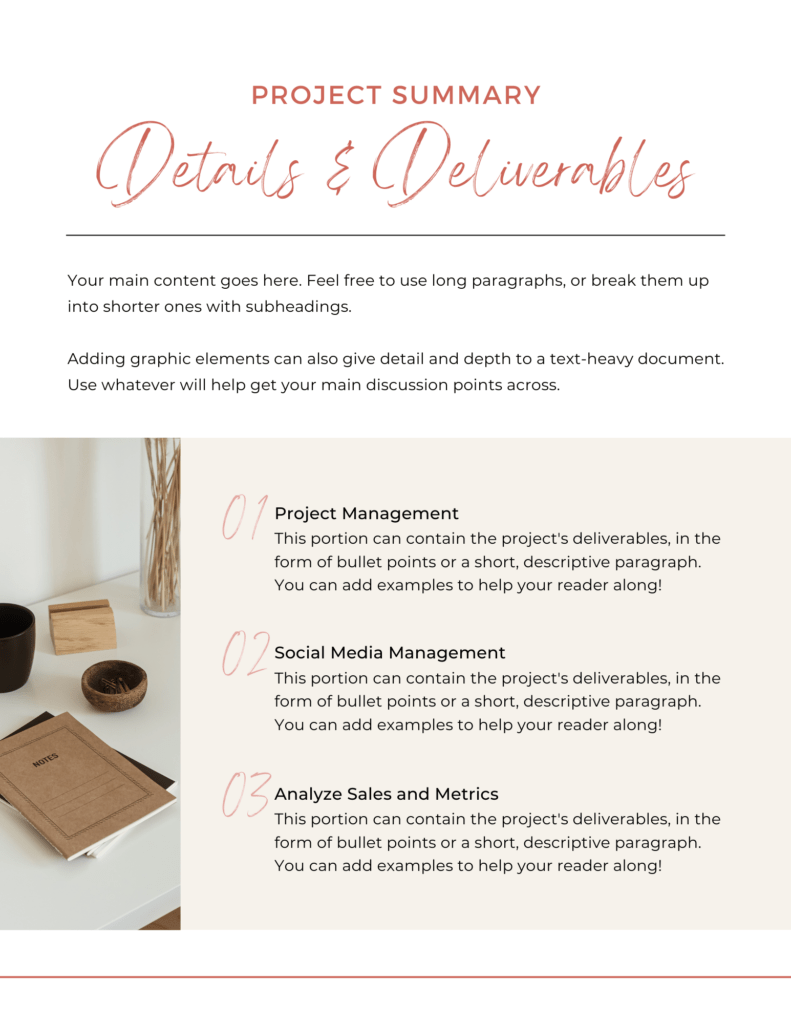
Here’s an example of a Project Summary page from a client welcome packet.
This is a great layout for a project summary page. You could use bullets to list deliverables or use the section below to give big steps for the steps in your process.
Dubsado Form Elements that Let You Collect Information from Clients to Improve Your New Client Onboarding Process
There are other Dubsado form elements that let you collect (or organize information from clients). With these elements, you can create short (or elaborate questionnaires).
- Short Answer questions – Collect small amounts of information from a client.
- Free Response questions – Allow a client to write longer responses.
- Date Select – Ask a client date-related questions.
- Project Tracking – Ask clients how they found you, which can help you create better marketing plans in the future.
- Dropdown – Have clients choose one answer from a set of answers.
- Checkboxes – Allows clients to choose from multiple options. I love to use these for checklists which allow clients to tell me what they’ve completed.
- Multiple choice – Allows clients to choose an option from several options. Ex. What would you consider the overall style of your wedding? Classic, Contemporary, Country, Modern
- File Uploader – This element allows clients to upload files to their project. Ex. a photo of their wedding veil.
- HTML Block – You can use these blocks to add custom HTML to your form.
Pro Tip: Map the answers to questions to custom-mapped smart fields to save important info in project records to refer back to later. (Otherwise, you’ll have to pull up the form where they entered the information to view it there.)
Want me to build you your own New CLient Welcome Packet and automate your client onboarding in 90 minutes? Book a System Strategy Call
Last But Not Least, Make Sure to Give Contact Information and Set Boundaries
The template below gives a great layout that you could tweak for letting your clients know how they can reach you and to set boundaries around your time.
To Wrap It Up
These are just a couple of ideas to get you started on your journey to create a beautiful and engaging new customer welcome packet to create an awesome first impression with your new clients.
Use this post as a guideline to create a beautiful welcome packet to add to your new client onboarding process. It’s a great way to welcome clients and create a great first impression as well as to share some valuable information in a more bite-sized and engaging way.
If you created a new customer welcome packet, I’d love to see it! Comment below and share it with me or send an email to amy@amysgould.com.
Want me to create an amazing welcome packet and an automated onboarding process that wows your new clients?
Book a 90-minute strategy session with me. We’ll automate your client onboarding process and put together a Dubsado onboarding packet that’ll win you raving fans.

+ view comments . . .