

(Free Templates Enclosed)
Branding is such an important part of your business identity. It should carry across everything that you do from your social media to your email to your CRM. Dubsado gives you an amazing client portal, but unless you do a little work to set it up, it is kind of basic. I’m pretty sure your brand is anything but basic.
In this blog post, I’m going to talk about
- What the Dubsado client portal looks like out of the box
- Help you decide if you even need a client portal
- Give you free templates to help you dress up your client portal
- Share the size recommendations so you can do your own design work
- Walk you step-by-step through adding your client portal graphics
- Give you some best practices for getting clients to use their client portal and get more out of it
Plus, I’m going to share FREE Dubsado Portal Banner Canva templates that you can use to dress up your client portal. Let’s get started!

What is the Dubsado Client Portal?
Your client portal gives your clients one place where they can see all of their invoices, forms, emails, and appointments in one place. It’s a great way to share a lot of information with clients at once (by sending them to their client portal) instead of sending multiple emails in a workflow.) Take a look at the gallery below to get an idea of what your client portal looks like out of the box. (Think of it like the before picture, because we’re going to dress it up really soon!) It starts with the client login page and moves through each screen of the portal.
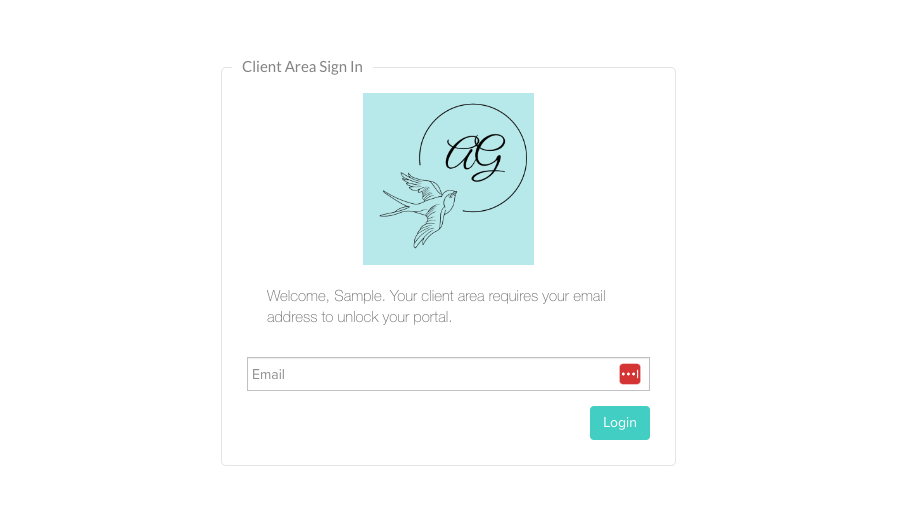

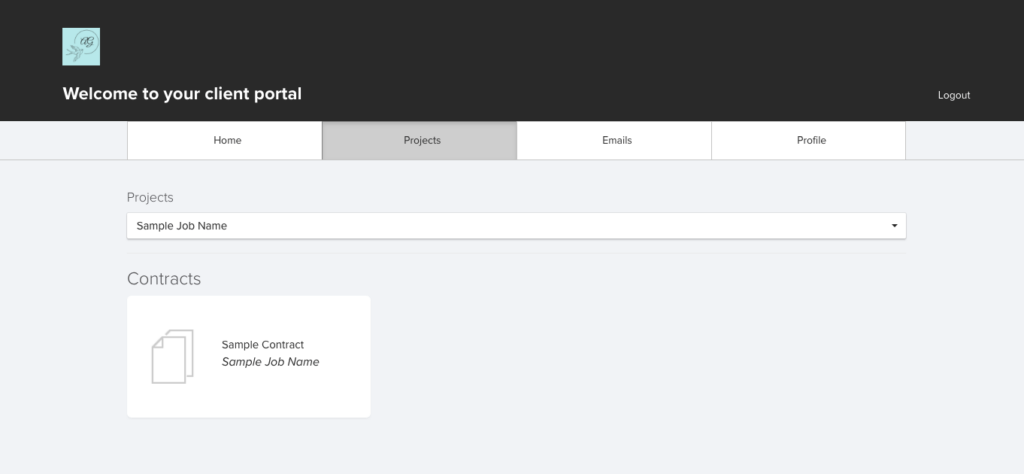


See what I mean?
It’s pretty blah… Let’s do something about it! Keep reading to learn how to dress up your client portal.
Do I Even Need a Client Portal?
This is a question the clients ask me frequently. Do I even need a client portal? Here are some things to consider when deciding if you want to use a client portal or not.
You might WANT a client portal if…
- You send a lot of questionnaires, forms, and emails to your clients.
- You send several forms at once and want to avoid overwhelming clients with lots of emails, each with one form attached.
- Clients tend to lose information in their emails and are asking for a way to find everything in one place.
- You send lots of outside resource links to clients and want to keep them all in one place for clients to refer back to.
- Your clients have multiple projects with you and it makes sense for them to have one place to keep track of it all.
You might NOT want a client portal if…
- You don’t send a lot of schedulers, forms or emails to clients.
- Your clients don’t want to have another website to log into (although this can be pretty easily fixed.)
- Your clients prefer to access information in their email.
Here’s How to Dress Up Your Client Portal
As you can see from the pictures above, the client portal is nothing snazzy to look at when you first get your Dubsado account. You’ll need to spend a little time dressing it up and getting it ready for its premiere. A big part of that is creating an on-brand Dubsado portal banner.
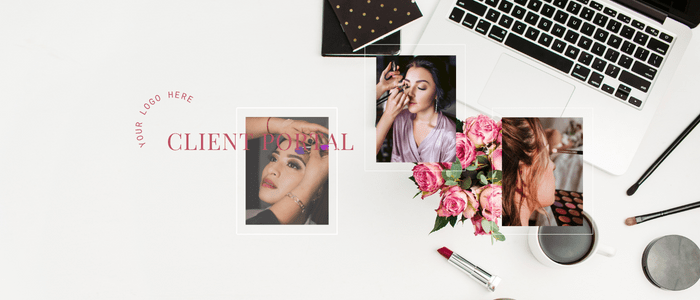
Step 1. Create on-brand Dubsado portal banners
When creating your unique Dubsado portal banner, it’s important to keep it on brand with your website and the other forms that you’re creating (or planning to create for your Dubsado client portal. Use the same brand colors, images, and fonts to help clients feel at home.
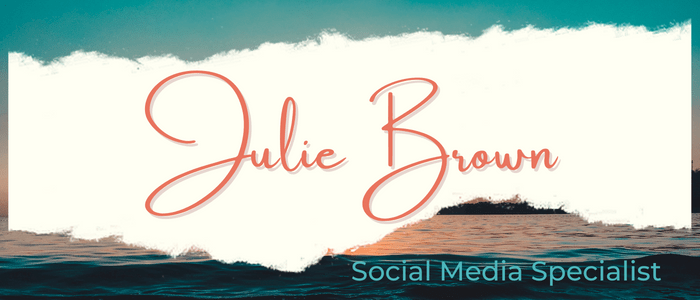
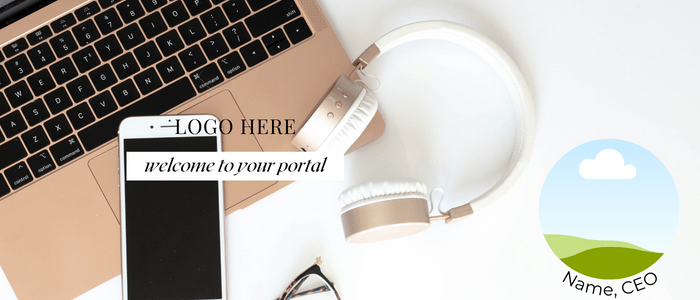
Here are a few examples of client portal banners that I’ve created
I also recommend adding a welcome message (and hiding the standard welcome message in your client portal.) Make sure to create a mobile client portal banner as well.

Size Requirements for Dubsado Portal Banners
The desktop banner size is 1800 x 200 pixels. You can create a larger design for larger screens. Dubsado recommends 2700 x 300.
The mobile banner size is 700 x 400 pixels.
You can enter these sizes into the custom project size settings in Canva to create a canvas for your design.
Feeling stuck? Download my free Canva client portal banner templates.
Step 2. Download Your Graphics
Once you’ve created designs that are on brand, download them to your computer as a jpg or a png file. Then follow the directions below to upload them to your Dubsado account and set the rest of your client portal settings.
Step 3. Set Your Client Portal Settings to Showcase Your Dubsado Portal Banner.
Step 4. Make Your Client Portal Easy to Access
I recommend adding a link in your website menu to allow clients to access their portal easily.
Tip: You may want to make your client portal password accessible to keep someone from accessing client information that shouldn’t have it.
Step 5. Promote Your Client Portal
You might want to consider adding some steps to your workflows to make sure that your client portal is ready for your clients AND then also promoting the client portal to your clients. Here are the workflow actions and steps that you’ll need to add.
Once you’ve created your client portal guide, add a workflow step to activate your client portal after the contract is signed. You’ll also want to create a workflow step to send a form at a good point in your onboarding process and use this step to send the client portal guide. Do what makes sense in your onboarding workflow and avoid sending a bunch of emails at once so you don’t overwhelm your client.
One way to avoid that is by adding a bunch of forms to the client portal only using your workflow and then sending them the client portal guide. Add some language to the email telling them to click the button to view the client portal (using the client portal smart link and client portal password smart link.) Make sure to tell them that you’ve added several items to their client portal and they can check them out by clicking the Client Portal button below.
(Remember to add the Client Portal smart field and tell them how they should login to it. Unless you changed the settings, their password should be their email address.)
Want to get more out of your Dubsado account (or better yet have me walk you through setting it up step-by-step in four weeks? Sign up for my Done With You Dubsado program. We’ll plan your workflows together, then we’ll meet four times to go through a piece of your Dubsado set-up together.
It’s like setting up Dubsado with an expert to plan your workflows, show you how to do everything AND look over your shoulder as you set it up to make sure it’s all done right.
Step 6. Enjoy Your Beautiful New Client Portal
You’ve created a beautiful, on-brand client portal that will simplify your clients’ lives (and yours too.) Be sure to share your gorgeous new on-brand client portal with your clients. Consider creating a client portal guide. There’s a great one-click template you can use in the template shop on your Dubsado forms page. I’d love to see your gorgeous client portal after it’s finished. Post your graphics to Instagram and tag me in your stories at @amysgould_
")


+ view comments . . .